Jump to:
Create Initial User
Specify AWS Accounts and Regions
Grant Limited Access To Your AWS Account
Provide an Application Name and a Recovery Point Objective
Select Application Resources
Create Initial User
All Arpio users need a user account to set up and manage their recovery environments with Arpio. Your initial user account will be identified by your email address and authenticated with a password you'll provide (single sign-on can be configured later).
To get started, navigate to https://app.arpio.io/create_account. You will be directed to the screen pictured below, and asked to enter your Name, Email Address, as well as a Password. You will also be asked to accept the Arpio Terms of Service.
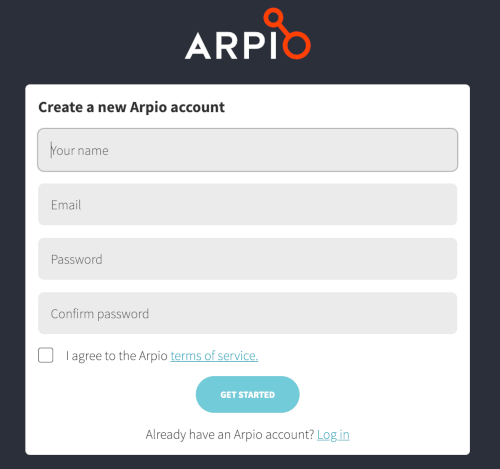
If you already have an Arpio user account, you can click the "Log In" link and provide the email address and password.
Specify AWS Accounts and Regions
Arpio works by replicating your AWS infrastructure to another AWS region, and if desired to another AWS account. You will need to link at least one primary AWS account and one recovery AWS account in order to set up your Arpio account.
On the next screen, you'll specify the first AWS account and region you'd like to replicate, and the account and region where you would like them replicated.
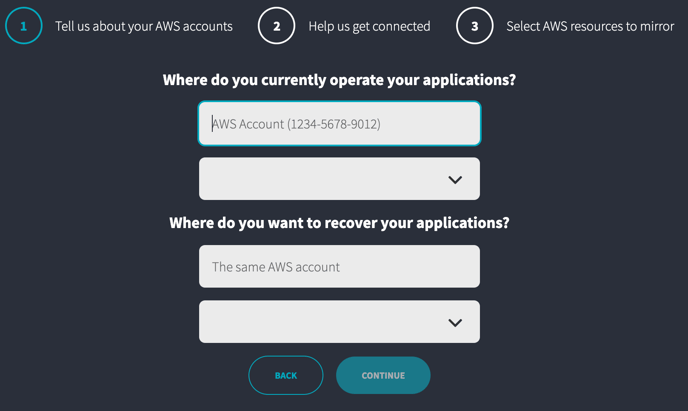
Your AWS account number can be found in the drop-down in the upper right corner of the AWS console. It is a 12 digit number, usually hyphenated as XXXX-XXXX-XXXX. You can type it here with or without the hyphens.
While replicating to an alternate AWS account is optional, doing so will give you a defense against disasters where a bad actor compromises your primary AWS account. We recommend you create a new AWS account and do not add it to any existing AWS Organization you may have set up. Minimize the permissions you grant to this account. Only a few people in your organization need access.
Grant Limited Access To Your AWS Account
Arpio requires limited access to your AWS account(s) in order to replicate your infrastructure and data to your recovery environment. This access is granted in accordance with Amazon's best practices for cross-account access.
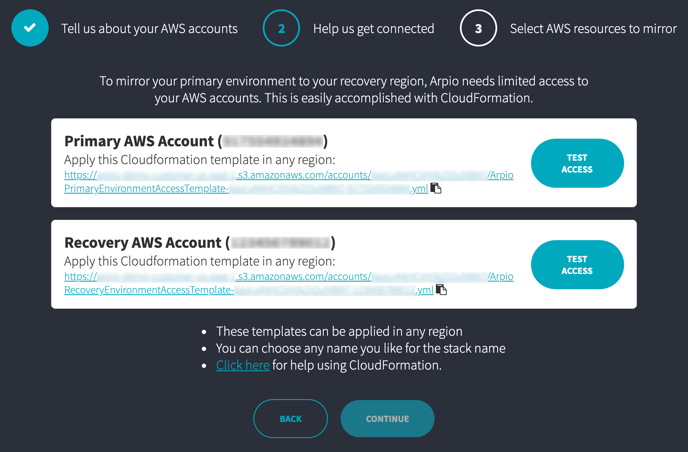
To make this easy, we provide an AWS CloudFormation template that creates the necessary IAM role and permission grants. If you provide an alternate AWS account for your recovery environment, we provide 2 CloudFormation templates, and we further limit the permission grants needed to your primary AWS account.
- If you're using two accounts, make sure you apply the correct template to each account.
- You can apply these templates in any region. They create global IAM resources that apply across all regions in an account.
- In CloudFormation, you want to create a stack "With new resources (standard)".
- In the CloudFormation Create Stack Wizard, it's easiest to paste the Amazon S3 URL that Arpio provides, but you can alternatively download it from Arpio and upload it to the wizard.
- Name the stack whatever you'd like. We usually name ours "ArpioAccess".
- On the last page, you'll need to check the box that reads "I acknowledge that AWS CloudFormation might create IAM resources with custom names."
Once the templates are applied, click the "Test Access" buttons. If everything is good, the buttons will become check marks, and the Continue button at the bottom of the screen will enable.
Provide an Application Name and a Recovery Point Objective
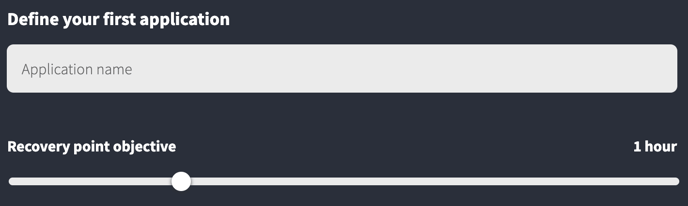
You're almost done. On the last page, you need to specify the details of the first application you're setting up. Provide a friendly name by which you know this application, and choose the recovery point objective for the application.
Select Application Resources
The last step to getting started is selecting the AWS resources that comprise your first application. You can select resources directly, or you can specify tags that you have applied to those resources. Or, you can do both.
Arpio knows the relationships between your AWS resources, and automatically selects dependee resources for you. You can usually select just a few resources and let Arpio find the rest automatically.
As your application changes over time, Arpio continues to apply these selection rules to find resources for a recovery point. If a selected resource disappears, that resource and anything it depends upon will no longer be included in future recovery points. If your environment is dynamic, you'll probably find that choosing resources by tag is more appropriate.
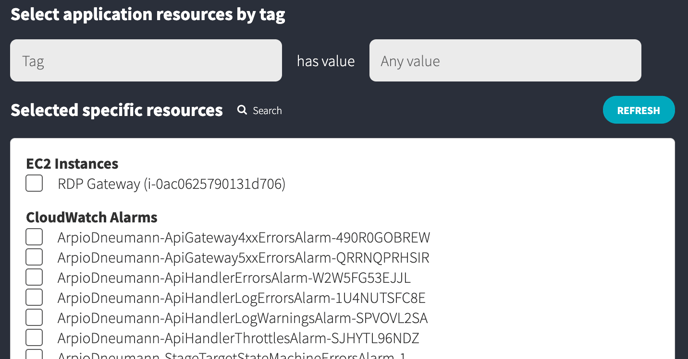
To select resources by tag, simply type the tag name or use the drop-down to select from the tags that Arpio has discovered. Once a tag name is provided, you can type a value, or use the drop-down to select from the values Arpio has discovered for this tag. You'll notice that matching resources and their dependees are automatically checked in the list below.
You can specify as many tags as you'd like.
To select specific resources, simply click the check box next to the resources you'd like to include. Dependee resources are automatically checked.
You can mix tag selection and specific resource selection as you see fit. Arpio will create recovery points that include the combination of all resources that match tags, are specifically selected, or are depended upon by other selected resources.
You're Finished!
Once you've selected resources for your application, you're finished. Click the "Finish" button to complete the process. You'll be taken to the new application's page within the Arpio console where you can watch as Arpio creates the first recovery point of your environment.