These steps will help you configure Azure Active Directory (AD) and Arpio so that your Azure AD users can access Arpio without supplying Arpio authentication credentials.
Before you begin, open two web browser windows. In the first window, sign into the Azure Active Directory admin center (https://aad.portal.azure.com/). In the other, navigate to the Account settings page in your Arpio Console.
Create a new enterprise application in Azure AD
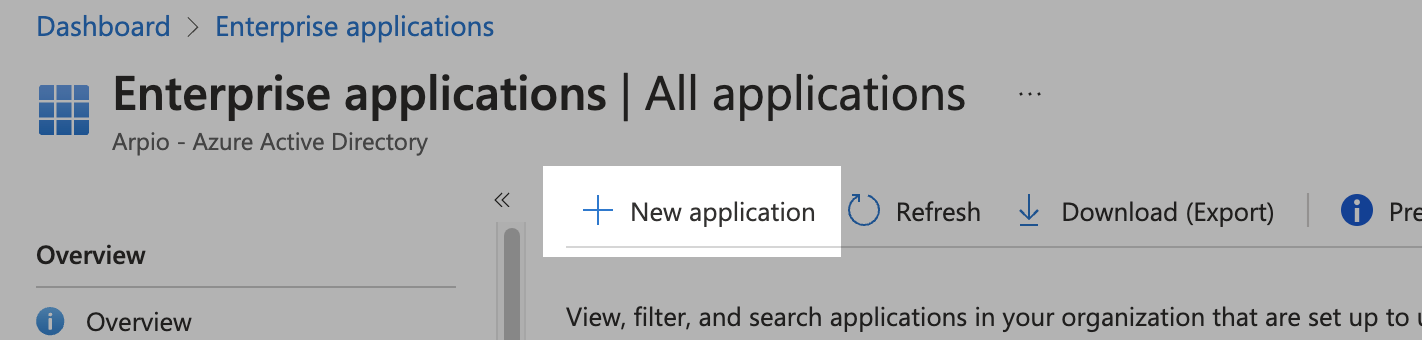
- In the Azure AD admin center, find the Enterprise applications page.
- Click the New application button to add an application.
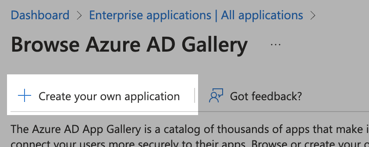
- On the Browse Azure AD Gallery page, click the Create your own application button.
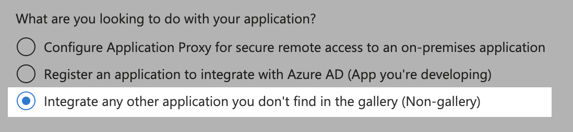
- Provide a name for your application and click the Integrate any other application you don't find in the gallery radio button. Click the Create button.
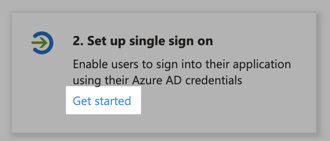
- On the Overview page for your new Enterprise application, in the Set up single sign on button, click the Get started link.
- Select SAML as your single sign-on method.
- On the Set up Single Sign-On with SAML page, click the Edit buttons in the Basic SAML Configuration block.
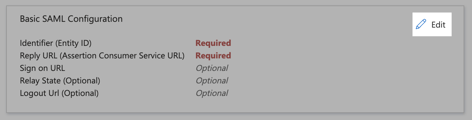
- In the Identifier (Entity ID) section, click the Add identifier link.

To get the value for your entity ID, go to your Arpio Account page, click Add Identity Provider, and copy the text for Audience Restriction URI/Entity ID.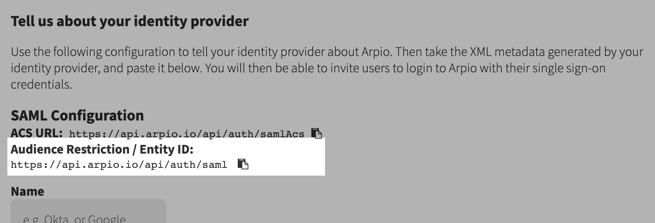
- In the Reply URL (Assertion Consumer Service URL) section, click the Add reply URL link. The reply URL should be https://api.arpio.io/api/auth/samlAcs
- Click Save near the top of the Basic SAML Configuration page. Then click the X button to close the Basic SAML Configuration page.
- On the Set up Single Sign-On with SAML page, click the Edit buttons in the Attributes & Claims block.
- Click the Add new claim button. Provide FirstName as the name of the claim and user.givenname as the Source attribute. Click Save.
- Again, click the Add new claim button. Provide LastName as the name of the claim and user.surname as the Source attribute. Click Save.
- (Optional) Again, click the Add a group claim button. Provide Groups as the name of the claim (this is case sensitive and G needs to be capitalized). Under the “Which groups associated with the user should be returned in the claim?” select Security groups, Set the “Source attribute” to Group ID. Open the “Advanced options” section and select “Customize the name of the group claim” and enter Groups for the Name section and Click Save.

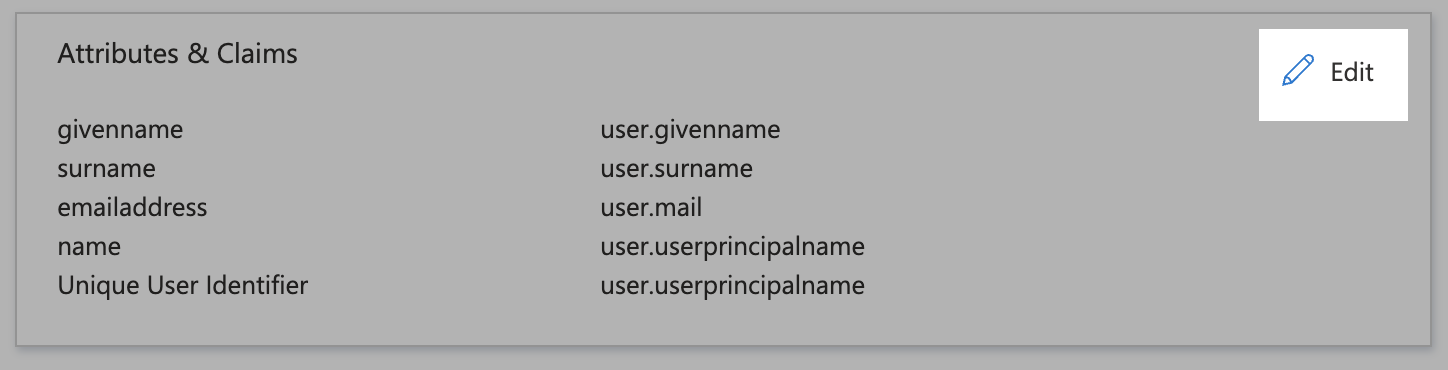
- On the Attributes & Claims page, your claims should look like this:

Click the X button to return to the SAML-based Sign-on page.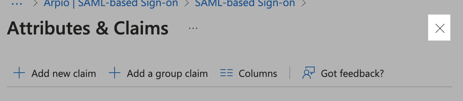
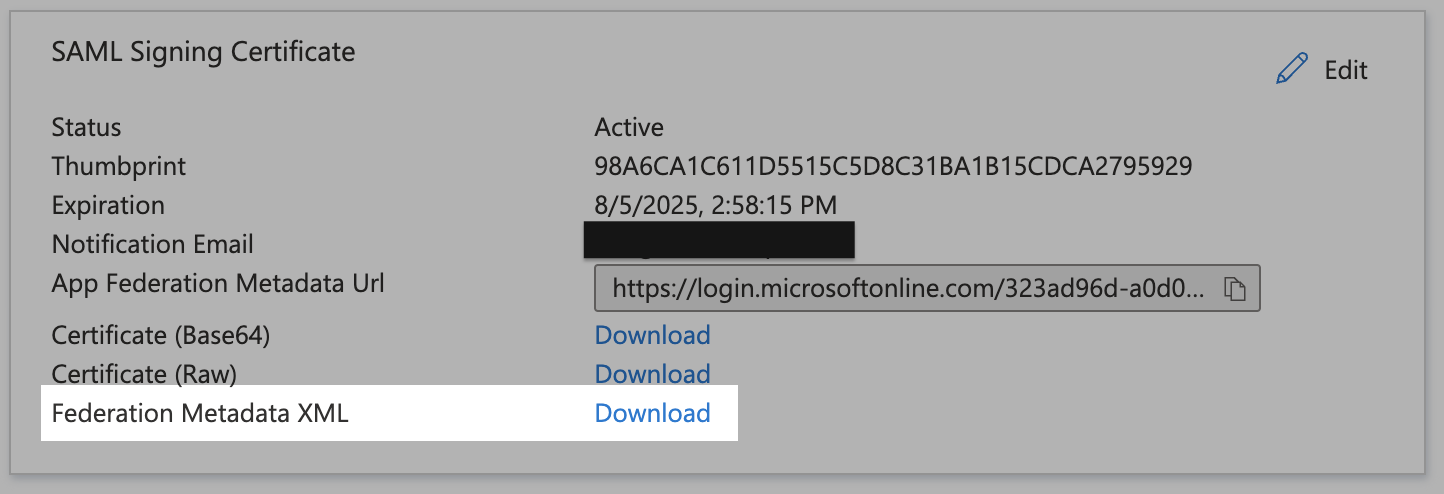
- On the SAML-based Sign-on page, scroll to the SAML Signing Certificate block and find the Federation Metadata XML. Click the Download link.
Enter SAML configuration into Arpio
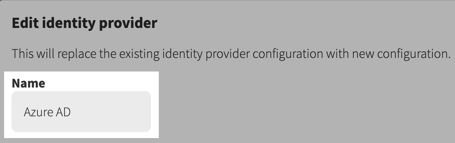
- Return to the Arpio console. If the Tell us about your identity provider dialog is not open, navigate to the Account settings page and click the Add Identity Provider button.
- Provide a friendly name for your Single Sign-On Identity provider such as "Azure AD".
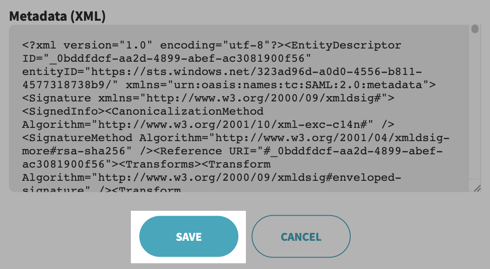
- Open the metadata XML file that was previously downloaded in any text editor. Copy its contents to the clipboard.
- In Arpio, paste the clipboard contents in the Metadata (XML) field of the identity provider dialog. Click Save.
Congratulations, your Azure AD integration with Arpio is complete! You can now assign your Arpio application to your Azure AD users.